Gingerbread treats

Yesterday I had a rare day at home. Almost spoiled by a last minute (8am!) call from the principal asking if I could sub. I said yes, then no, then felt like a crazy person, but settled on no because I was really, really looking forward to a day at home. It’s been awhile!

I got caught up on a few things, but mostly spent the day preparing this:

gingerbread surprise

A gingerbread surprise to welcome them home.

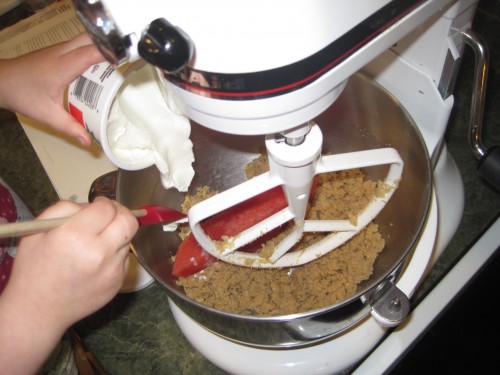
Making the dough, rolling, cutting, baking, preparing icing, gathering toppings… all for a sweet surprise for my little ones. I also made salad and exercised, to somewhat balance out the sugary day.

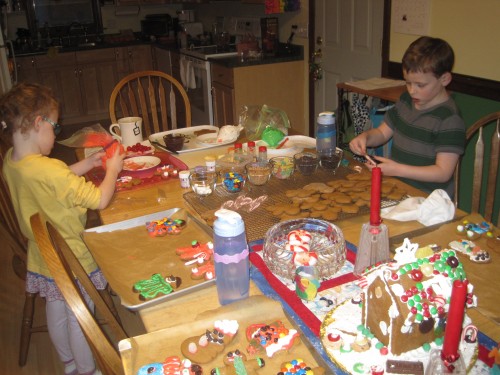
The kids were THRILLED when they came in the door! They did their after school jobs lightening quick and were decorating in no time. :)

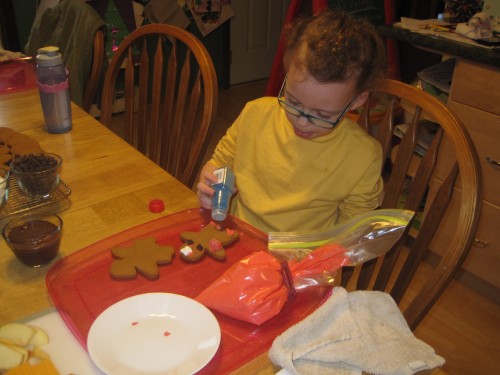
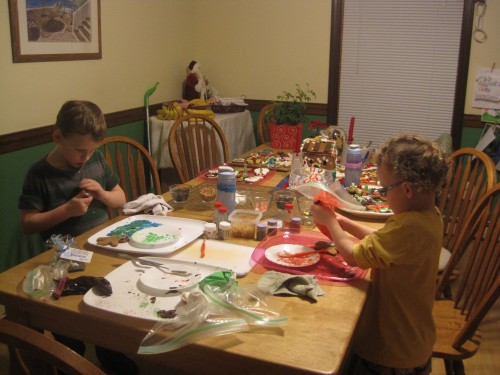
Eve, just getting started.

Eve, just getting started.

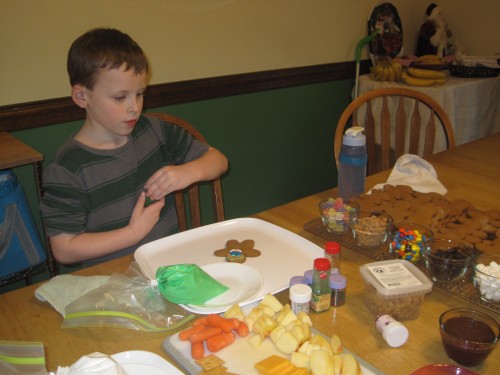
Lex at work.

Lex at work.

sweet

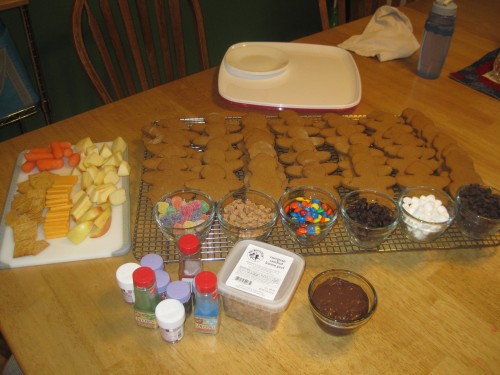
What a sweet table! :)

messy

It got a little messy. I was really glad I thought to give them trays to work on!

eves bag

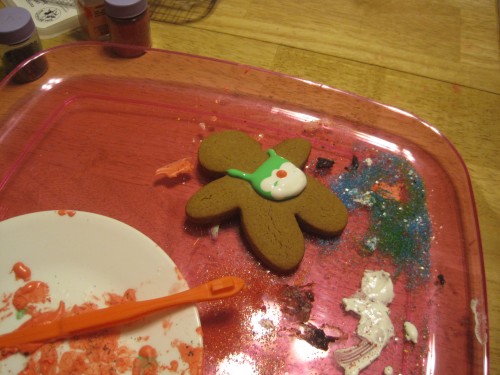
Eve made a bag on her gingerbread baby. Of course, with the way she creates, by the time she was done decorating it you could no longer see the bag. :)

cookies

Cookies galore!

done

All done! It took us all afternoon, but we all had fun.

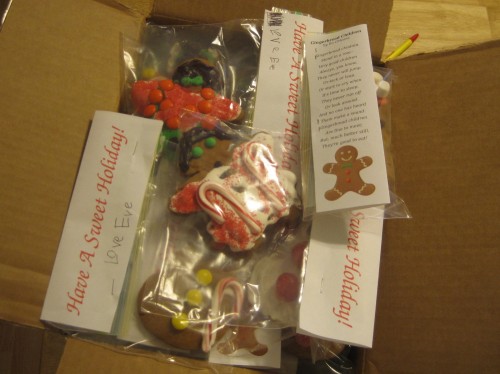
We decided that we didn’t need 41 heavily decorated gingerbread cookies in our house (ok, that part was my decision!) so we packaged them up with a gingerbread poem and a holiday greeting and brought them to school this morning.

packed up

Gingerbread boys and girls headed off to school!

Holiday treats and advent boxes

This year I’m doing something a little different in the advent boxes. They still get a piece of chocolate every day at 6am, don’t worry, but instead of the tiny toys I put in the boxes in the past (and regretted for the rest of the year as I constantly found them underfoot) I decided to put slips of paper with a holiday activity for the day. The kids have taken the change quite well. Some activities go over better than others, though we haven’t gotten to the “chose one toy to donate” day yet! ;) The “drink hot chocolate with candy canes” day was a hit! Today was “make a special holiday treat” and I thought it would be a good one. I gave them three options this morning and they couldn’t decide so I ended up buying supplies for all three at the store today. Mostly because I wanted to make all three!

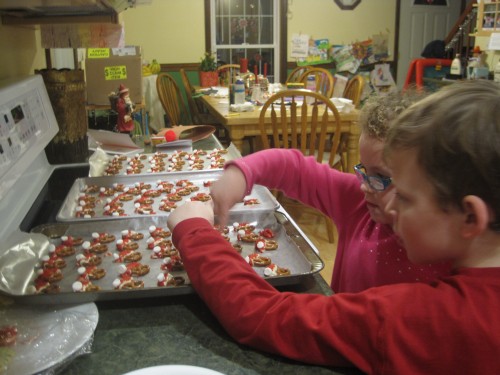
This afternoon they came home from school and they both had other plans. Lex is working on a time crossing paper airline (paper planes that travel through time). Eve was working on a present for Lex (more on their sweet presents later) so I ended up making the holiday treat myself! Hmm… they both thought that was the best option. Turns out it was pretty messy so maybe it was best I did it alone. Oh well. At least we all hung out together and chatted and listened to holiday music and everyone had fun. That’s what really matters anyway.

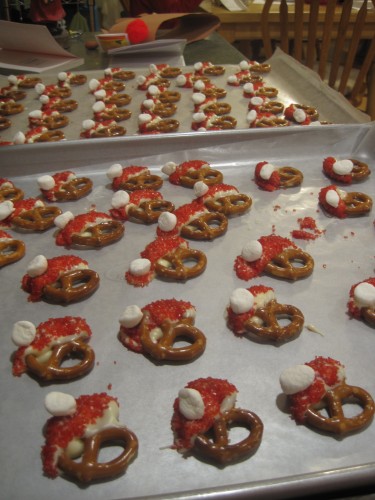
santa treats

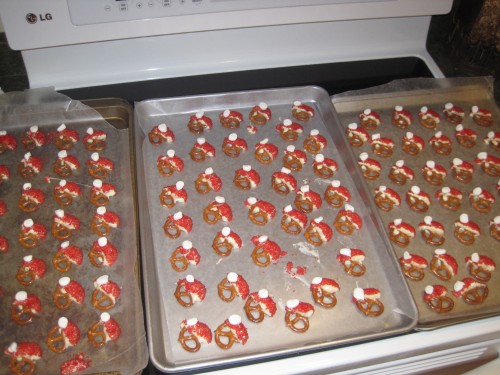
Santa treats

Now, about that treat. Once again I found something cute on Pinterest and then tried to wing it from memory. I never rarely read the directions, I just peek at the picture, scan the ingredients, and go for it!

Ho Ho Ho...

Ho Ho Ho…

Sooo… as I was putting these together I realized that they don’t quite look like Santa hats. I sort of remembered them not exactly looking like Santa hats anyway, but mine were a little bit more of a stretch. After I put the kids to bed I fired up the computer again, went back to the site, and realized I was putting the marshmallow in the wrong place. Oops! Oh well. They are cute and tasty and Alan recognized them as Santa hats when he got home, so I’m going to call this a success! :)

kids

I’ll have that one, please!

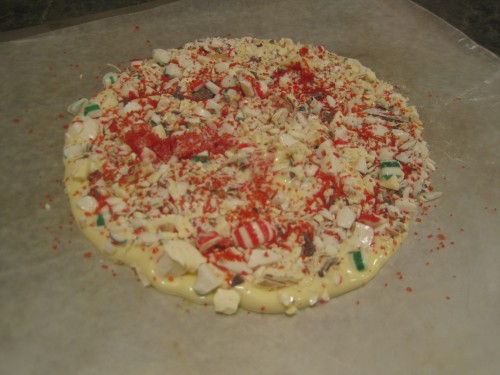
leftover candy pizza

What do you do with the leftover melted chocolate, sprinkles, and crumbs from last week’s peppermint bark? Make a leftover candy pizza!

No more reading at the table – An update!

After a month or so of my “no reading at the table” plan I figured I’d post a quick update. I know how much you all are concerned with the dining situation at my house.

Overall the plan has been a success! Lex’s table manners have improved and he is no long as sloppy and disgusting to eat with. He thinks and plans and joins in the conversation. He laughs and participates. This evening I decided to start our annual “thankfuls” at the dinner table. With no fuss Lex jumped right in with a thoughtful thankful.

That said, there is one down-side to the plan… Lex no longer eats!! That’s maybe a slight exaggeration, but in the past he would plop down with a book, check out, and eat whatever you put in front of him (with some limitations, of course). Now he bounces around in his seat, chats, laughs, gets up, sits down, fidgets with whatever he can reach and doesn’t eat! (that doesn’t actually sound like very good table manners, does it?!) Sometimes I have to set a timer for him or take his food away at a certain time, just so we can move on with the day. I swear his calorie intake, and books read, has been cut in half!

Sigh. I guess you can’t win them all. But at least he’s less messy and gross to eat with. :)

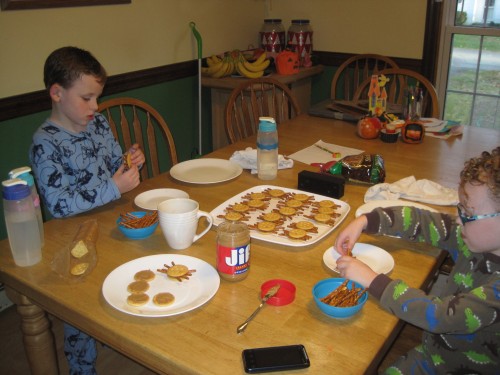
Halloween Treats

We’ve been busy the past few afternoons…

cookies

Halloween cookies (recipe here and I don’t really think you can call them “low fat”!)

crackers

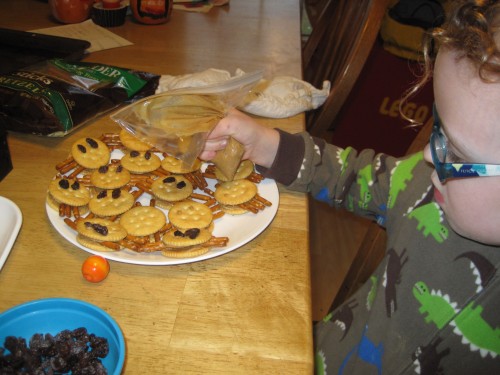
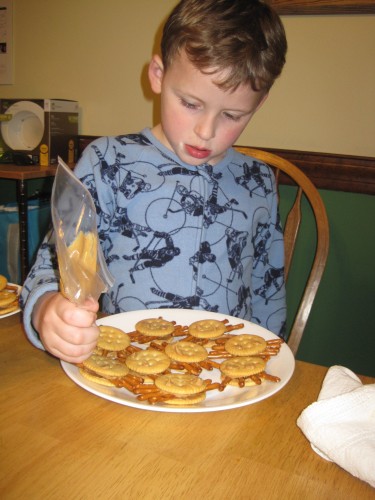
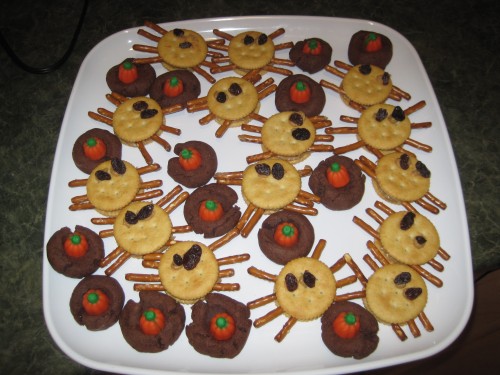
We had trouble agreeing on what treats to bring to school so we decided on two: a cookie treat and a healthy snack.

eve

Although with Ritz crackers and Jif peanut butter, I think I’m pushing the limits on “healthy.” :)

lex

They worked diligently.

treats

Happy Halloween K and 2nd grades! :)
(this is just one tray of several!)

Canning Tomatoes

With the help of this great website I “put up” my first batch of tomatoes ever today. It was… umm… messier than I expected! They are setting and cooling now so I don’t know if they taste any good, but they look right. That counts, right?! :) I’m looking forward to lots of yummy soups with CSA veggies this winter!

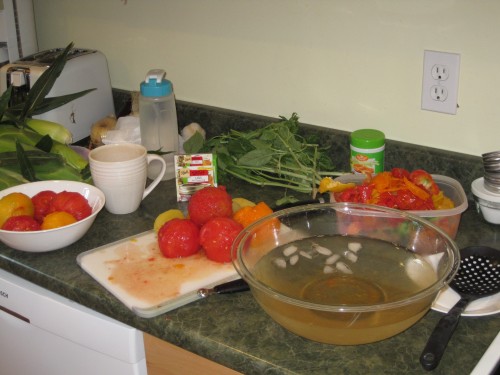
peeling

Peeling tomatoes is easy, but messy! I even got tomato juice in my tea!

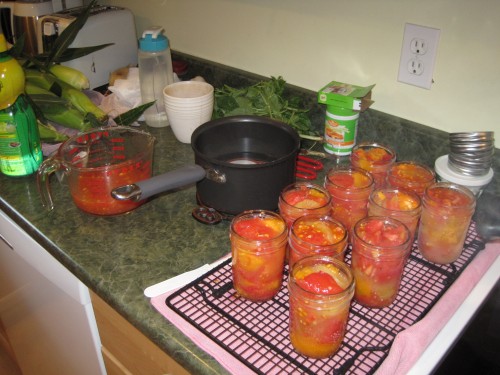
jarring

Jarring up the tomatoes. I used red, yellow, and orange ones, so they look very pretty. :)

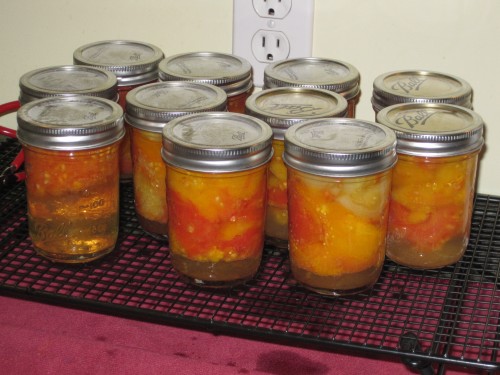
done

All done. There is some separation, but the website says that’s normal. The one that looks like barely any tomatoes actually has just tomato juice in it. I figured I’d can the extra juice and see what happened!

Watermelon Cookies

We bought a giant watermelon at the market the other day. Lex’s choice. Give that boy a watermelon and a spoon and he’s a happy camper! (Remind you of anyone, B?!) Eve, however, had other plans for the watermelon. “Let’s make watermelon cookies,” she said to me yesterday. She wanted to make them yesterday, but I said no because I had other things to make, and she wanted to make them today but we were out all day, so when I picked her up after school she asked if we could please come home and make watermelon cookies. She even wanted to skip Lego Club (a wild playtime her classmates do every Wednesday after school) so we could make cookies today. What could I say other than, “Ok, let’s make cookies!”

She wanted free range with the recipe, like we did with the Flower Rose Pie (almost this same time last year!). However, since these were to be cookies they would require a certain consistency to the batter, so she wrote her recipe (blue squiggles all over the back of a coloring sheet) and then agreed to also consider my recipe (lemon drop sugar cookies from KAF). Following the basic guideline from the KAF recipe we went to work. Here’s what the final recipe was:

1/2 c. unsalted butter
1 1/4 c. brown sugar
1/4 c. granulated sugar
1 c. sour cream
2 rather large slices of watermelon, rind removed
2 1/4 c. white wheat flour
1 c. all purpose flour
1 t. baking soda
1 t. salt
Red food coloring (AmeriColor soft gel paste, or whatever you’ve got)

Cream sugar and butter in mixing bowl. Add sour cream and mix well. Pierce watermelon chucks well with a fork then add to bowl. Mix until somewhat smooth or until you get bored of mixing and want to move on. Add flour, baking soda, and salt. Put many drops of food coloring in. Have fun with it! Mix well. Then let mom have a turn to scrape down the sides and mix again.

Preheat the oven to 375° Drop by very large cookie-scoop full onto a cookie sheet. We used parchment paper, as usual. Otherwise you’d probably want to grease those cookie sheets. Sprinkle chocolate sprinkles on top to resemble watermelon seeds. (I briefly considered lining them up in arcs, as watermelon seeds really are, but then let go of that madness and let Eve carry on with her sprinkling.)

Bake for about 18 minutes or until they are firmish. The recipe says to bake until a very light gold around the edges, but you can’t really see that in these pink cookies.

Cool on a cooling rack for awhile then cut in half to make them look like watermelon slices.

We put some thought into how to make a green rind around the edge, but couldn’t come up with anything that didn’t involve a lot of work on my part (fondant, separate cookie dough, etc.) or a trip to the store (gummy worms, fruit candies, etc.) So we settled for just the melon, hold the rind, and everyone was happy.

They actually taste ok. Cakey and not super sweet. Not super watermelony either though. Now I want to go back and make the original lemon drop cookie recipe too. I bet that would be yummy. :)

eve

Happy creative baker

melon

We put two chunks that size and larger into the batter. Mix it all about!
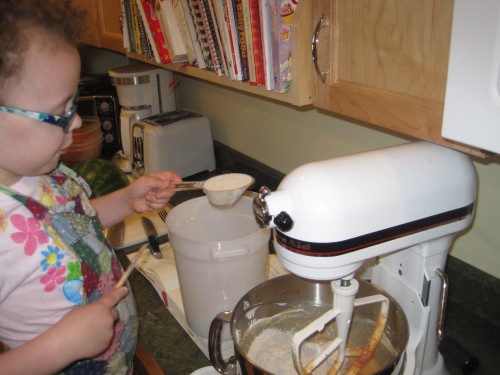
flour

Add some flour. She likes this part and I don't often let her do it.

eating

Eat some watermelon while you wait. (she wouldn't smile for me, but I got a nice shot of the curls instead!)
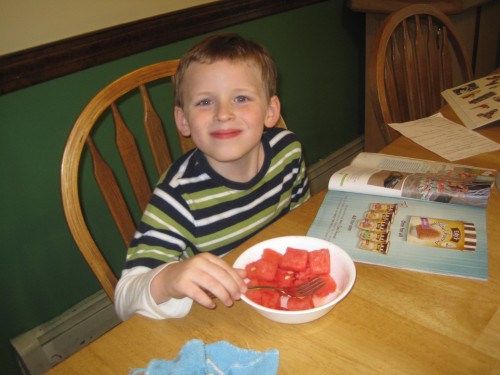
lex

Lex heard me say "Watermelon" and came tearing in from the living room, big grin on his face! It's a good thing we bought a huge melon, otherwise there might not have been enough left for the cookies!
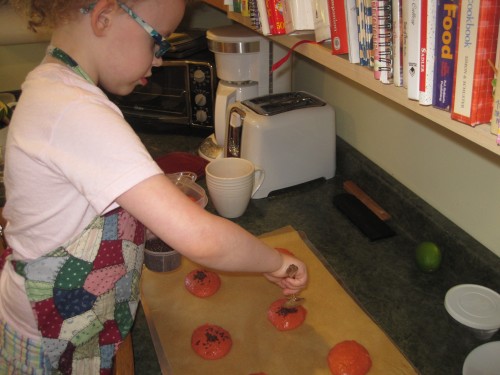
sprinkle seeds

Sprinkle on some chocolate "seeds." Chocolated covered sunflower seeds would look good here too.

enjoy

Enjoy! (I just noticed that this picture would have looked better if the cookies were flipped over, flat side up)

I have had several “slices of watermelon” this evening. These will not help at my weigh-in in the morning!
Lego cookies

I am getting so excited for Lex’s birthday party this year. I hope I manage to get all of my awesome ideas done before the big day… not likely!

Lex decided he wants to bring Lego head cookies to class this year, instead of cupcakes. With inspiration from much fancier bakers than myself, I got brave enough to give it a shot! This project included hand cutting rollout cookies!

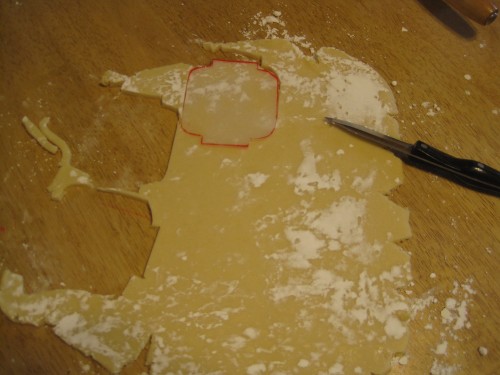
hand cutting cookies

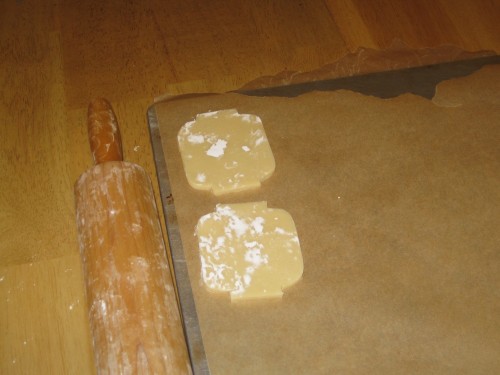
I made a template out of a yogurt lid and hand cut the cookies.

hand cut cookies

Two done... many more to go!

I wish I could take the credit for this idea, but of course, I can not. Check out Sweet Sugar Belle for a great tutorial and much fancier photos.

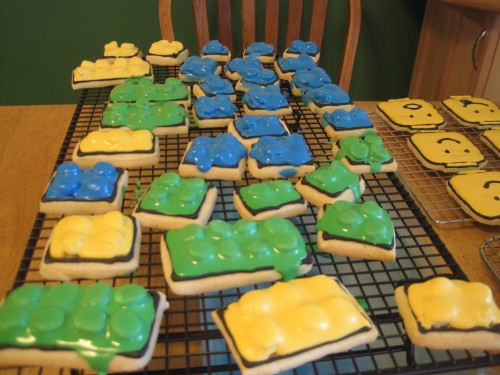
Handing cutting 40 Lego heads and a tray full of squarish and rectangularish shapes took awhile, but it was worth it! They looked a little odd at first…

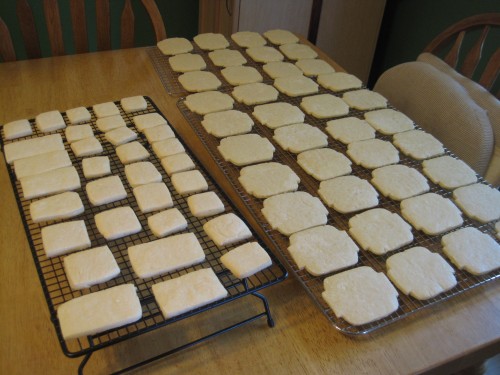
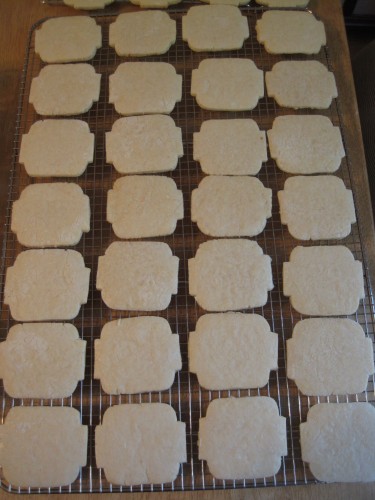
baked cookies

All baked, bare and ready for frosting! I could have measured those bricks and made them even and straight edged, but I did not.
cookies

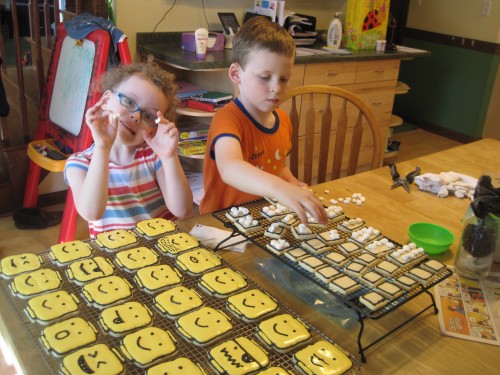
These could be robot heads too! I'll have to save this template. :)

but once I started decorating them… so cute!

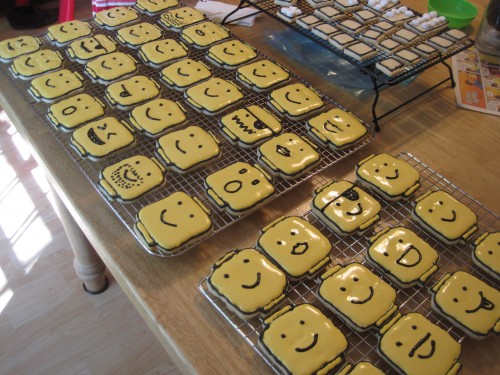
decorated

Decorated!

cookies

I was going to be all fancy and find a bunch of Lego faces to copy, but as usual I got lazy and just winged it! Lex helped me think of face ideas. Some came out better than others, but overall I LOVE them!

decorating with marshmallows

We used halved mini-marshmallows for the Lego "bumps" on the squares and rectangles. The kids cut them and put them on the cookies for me.

eating the marshmallows

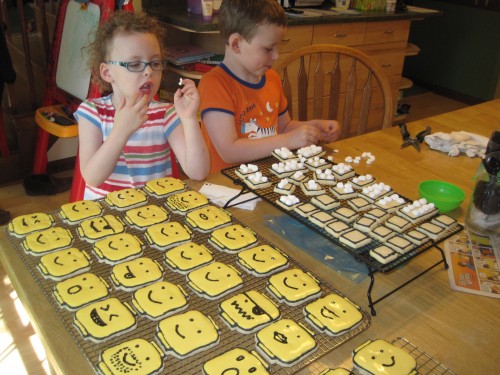
I'd like to say they ate the marshmallows for me too, but of course I ate my fair share as well! :)

messy blocks

These were super messy! In hindsight I should have skipped the marshmallows, flooded the cookies, then pressed on M&Ms in corresponding colors. That would have looked better and been MUCH easier. Oh well. Next time, right?

more mess

The icing actually settled well and they came out looking pretty good, if you just ignore all the extra icing hanging down the edges. :) I'm sure they will taste just fine!

Far from perfect, but Lex was thrilled and I think his fellow first graders will be equally happy with these.

bagged up

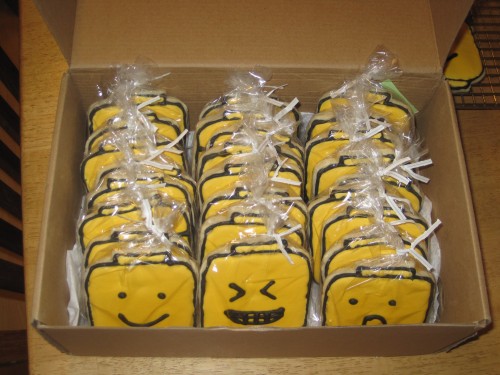
I decided to wrap them individually. This made it easier to put them away (get them off my table before we ate them all!) and I think it will be easier for Lex to manage in school. We're sending in a few extras too, so he can deliver them to other teachers or staff if he wants.

all boxed up

All boxed up and ready to go! This makes me happy. :)

I was crafting a post in my head about “good enough” baking, instead of awesome baking like this, and this, and this. I used to have these blogs in my feed reader, but I had to remove them because I really don’t need a daily dose of adorably decorated sugar cookie inspiration. I really need some “get up and go” inspiration, not “break out the confectioner sugar” inspiration! I decided that “good enough” baking is good enough for me! As long as my “clients” are adorable children then I will better serve them with extra attention and “good enough” baking, instead of no attention and perfect baking!
Stay tuned for my awesome “good enough” cakes! One triple layer and one Lego cake. Bake on!

Yogurt

We eat so much yogurt in this house that I form think about making it from scratch. I don’t though because the yogurt maker costs a lot and past experience shows that when I make thing from scratch (like bagels, for instance) the kids don’t eat it. Not always, of course, they love the bread and cookies I make, but I was worried to make the investment in a yogurt maker with unsure results. That changed this week when I bought one from a lady in a parking lot! :) Kidding, kind of. She was selling it, unopened, as part of their kitchen decluttering. The price was unbeatable so I bought it! :)

Following the instructions exactly is a bit onerous and takes about 16 hours (1hr hands on). That’s what we did yesterday, and by “we” I mostly mean “I” while the kids played outside! Last night I was pretty ready to scrap the whole thing.

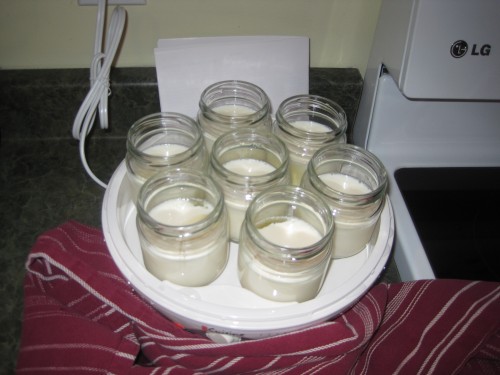
yogurt maker

The yogurt maker, minus lids. We made maple yogurt as our first batch.

However, this morning I said “Who wants to try some fresh homemade yogurt?” and my anxious eat said “Oh, I do!!” In all seriousness, no sarcasm at all. Then I remembered that the final step was it let it chill in the fridge for at least three hours. More waiting…

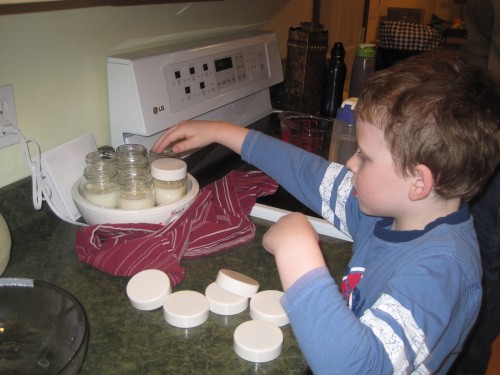
lex putting on the lids

Lex put the lids on for me and put them all in the fridge. He was eager to sample.

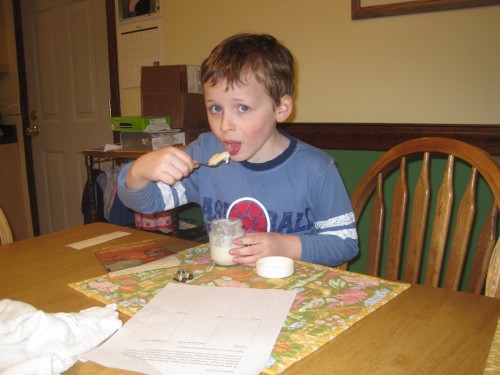
This afternoon we dug into them as soon as we got home. Eager Lex went first. He loved it! He even said it was better than store bought yogurt!

lex

Yum!

eve

This is Eve's opinion on things in general these days. (I like the cute little cups too!)

I haven’t done the math yet, but I suspect that at $1.09/ea for the store stuff we buy, this is probably going to save me some money! Tomorrow we try an alternate method that should speed up the hands on time significantly. Hopefully that too comes out good!

Chocolate Peppermint Drop Cookies

cookiesThese things are outrageous! Seriously. You know about peanut butter blossoms, right? They might be one of my favorite cookies. With that in mind I’ve been thinking about chocolate drops with peppermint cookies. Sounds yummy, right? I searched my cook books and the Internet and couldn’t find a recipe for this idea, so I made my own! Starting with a chocolaty chocolate cookie, we decided to double the recipe and add some dark chocolate and mint. So good I can’t leave them on my counter for long! Today they were either packed in a box destined for the other side of the world, or packed in the freezer for another day when there are more people around to help me eat them! If you will not be on the receiving end of the aforementioned box or at my house for Christmas I’d highly recommend you make these yourself. Have I mentioned they are delicious?!

Ingredients
* 2 cup butter, softened
* 3 cups white sugar
* 4 eggs
* 2 teaspoons vanilla extract
* 2 teaspoons peppermint extract
* 4 cups all-purpose flour
* 1 1/3 cup Hershey’s Special Dark cocoa powder
* 1 1/2 teaspoon baking soda
* 1/2 teaspoon salt
* 2 cups semisweet chocolate chips
* 2 10oz bags Hershey’s Peppermint Kisses

Directions
* In large bowl, beat butter, sugar, eggs, and extracts until light and fluffy.
* Combine the flour, cocoa, baking soda, and salt; stir into the butter mixture until well blended.
* Mix in the chocolate chips.
* Drop by rounded teaspoonfuls (or a small cookie scoop) onto parchment paper (or ungreased) cookie sheets.
* Bake for 8 to 10 minutes in a 350° preheated oven, or just until set.
* When they first come out of the oven gently press a Peppermint Kiss into the center of each.
* Cool slightly on the cookie sheets before transferring to wire racks to cool completely.
I ended up with 123 cookies!

* I’m sure there is lots of room to experiment here. Perhaps KAF Burgundy chunks instead of the chocolate chips, tweaks on extract proportions, etc. Feel free to play around. I don’t think I’ll make them often enough to fine tune the recipe. That would not be good for my waistline!

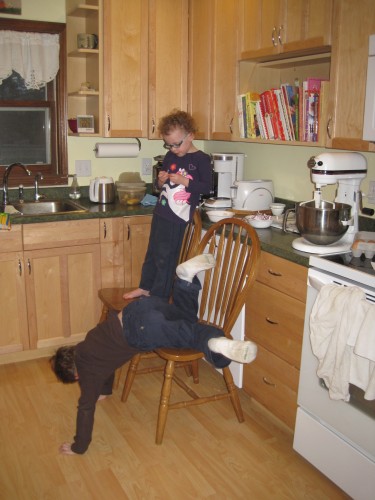
In case you were wondering, this is how we cook around here. It’s a wonder anything ever gets done.
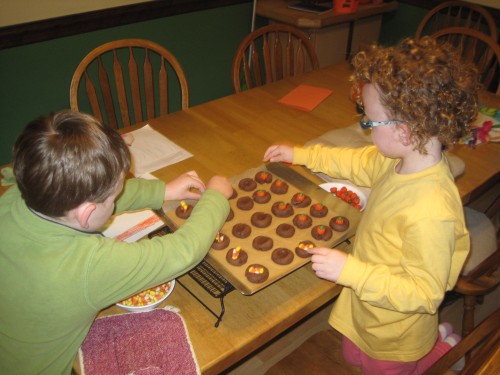
upside down lex

This, however, is a favorite job that always gets done. Eagerly. With a bit of sampling along the way.
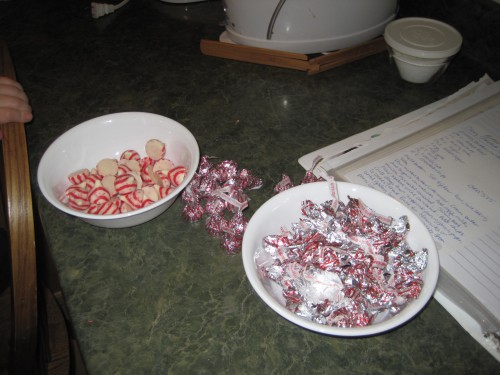
kisses

Apparently I didn’t actually take a good picture of the cookies. How unlike me. The little image above was cropped from this one. It will suffice, but I prefer this one with his smiling face :)
smiling lex